
FFMPEG Filtergraph Examples Including Split Screen and Picture In Picture
Sat, 16 Mar 2013 14:09:00 EST
FFMPEG is a miraculously powerful video and audio processing tool. A treasure trove of software projects use ffmpeg behind the scenes in order to do heavy video processing and formatting.
In the last several years the syntax of ffmpeg has been evolving in order to better handle the application challenges of 2013 and beyond.
Users in need of special features not in the core of ffmpeg who did not understand how to alter the ffmpeg code in the past have used external libraries with a methodology that used to be called "vhooks".
In the latest versions of ffmpeg the vhook functionality has been replaced by filters provided through the libavfilter library. Filters can be chained together in the new syntax to form a filtergraph.
Filtergraphs are very powerful, but the syntax can be tricky until you get the hang of it. Below I will provide examples of the crazy things you can do with filtergraphs.
An excellent companion to my examples is the main ffmpeg filter documentation.
GET FFMPEG
First, you may need your own copy of ffmpeg. I usually get my copies out of the awesome winff project as it comes bundled with recently compiled ffmpeg versions containing all the bells and whistles across many operating systems.GET SAMPLE MEDIA
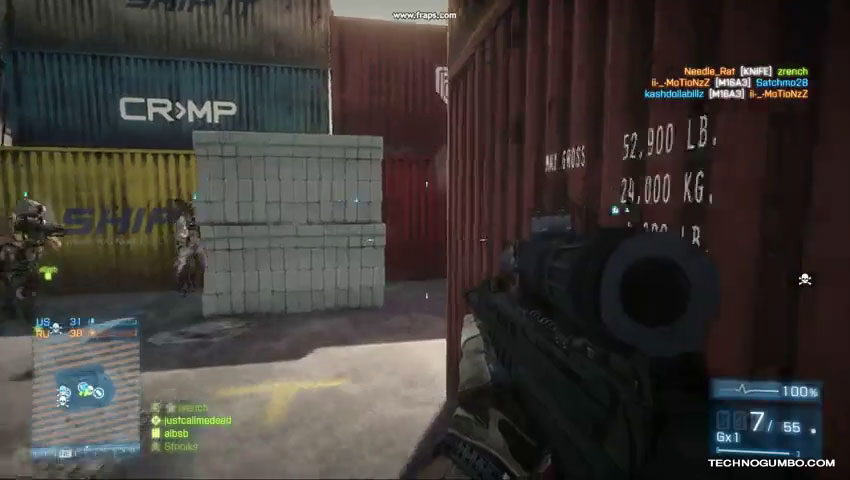
Next, we need a few pieces of media to preform our operations on. I recorded two clips using fraps of getting shot up in Battlefield 3 for our testing. You will also need a transparent png I have created:Download Sample Clip 1 - bf3Sample1.mp4
Download Sample Clip 2 - bf3Sample2.mp4
Download Sample PNG - overlayPNG.png
HOW THE SAMPLES WERE COMPRESSED
Each 30 second clip was originally 1360x768 and over 450mb. The samples were reduced to 850x480 and put under some heavy h.264 compression. Here's the command I used with 2.avi as the input file:DEINTERLACE USING FILTERS
Even though our samples are not interlaced, lets start with a simple but common operation; Deinterlacing telecine video. Most old footage, and many prepared for television video sources are interlaced and look terrible on a computer. Deinterlacing will make the video smooth. If these settings do not work for your situation, you should try other settings for field order.DEINTERLACE, FLIP HORIZONTAL, TURN BLACK AND WHITE
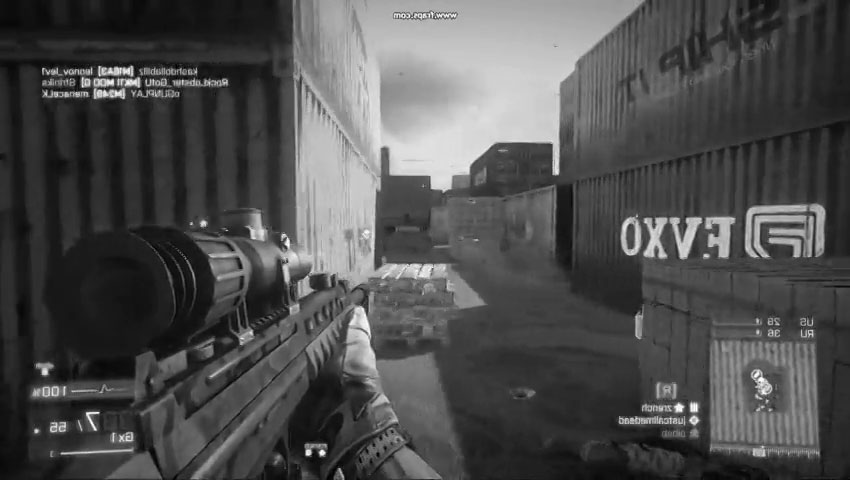
OVERLAY A PHOTO OR WATERMARK
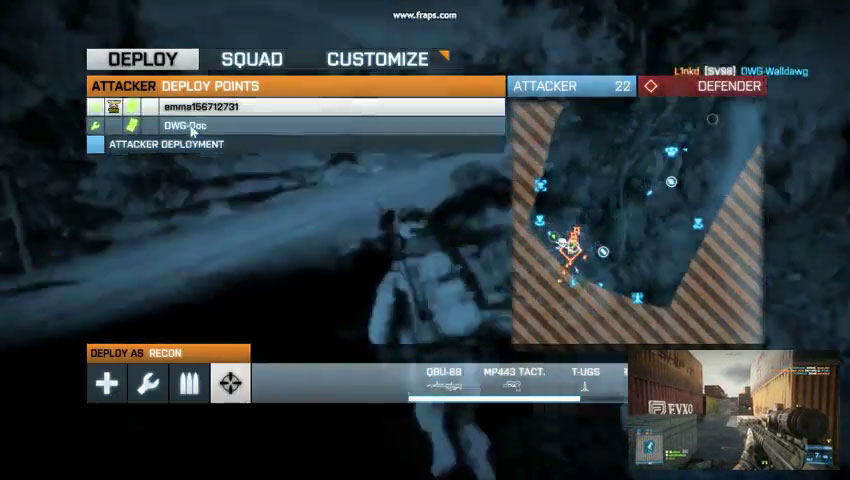
PICTURE IN PICTURE
SPLIT SCREEN
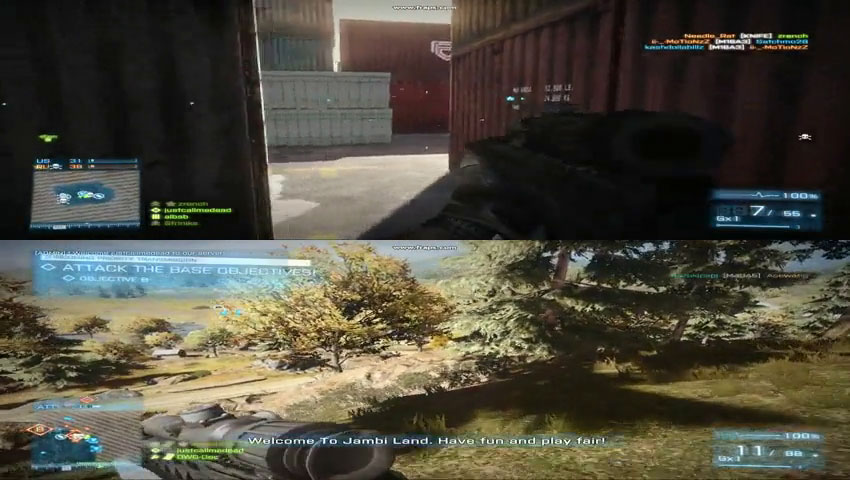
OK lets explain this. We input the file bf3Sample1.mp4 and explicitly tell ffmpeg we want it to be of size (-s) 850x480. -vf starts the video filter process. The first command scales everything before the video filter to 850x240. We then name the result inScale. Next,mcolor generates a black image 850x480. The reason for this is to provide a full resolution backdrop for overlaying video on. We name the full screen backdrop bg. the backdrop is set to the color black, with an alpha value of 1 (it cannot be seen through), a size of 850x480, a frame rate of 29.97, a duration of 30 seconds. The next command is the very valuable movie command which allows us to load other images and videos into a filter chain. For our sample we load the second video. In the same series we also then scale that video to 850x240 and finally name it vid2. We finally get to the magic after that. We set bg and vid2 as inputs to the first overlay command. bg having vid2 overlayed on top of it at coordinates 0,0. We then name this result basis1. We then do a second overlay, (this is for the bottom part of our final video). Our next overlay uses the basis1 which is the black video and the top portion of our split screen. We take the original input video that has been scaled and named inScale and put it on top of our already top portion on black. This overlay puts the input video at 0, 240....we then finally get our output split screen video!
FFMPEG is a miraculous tool. Once I even rode around in the back of an automobile on a job site while transcoding video for a multi screen show that was delivered in an incompatible format.

Comments

Hello sir
I want to merge 3 videos with split screen
please help

OgF6BLBdOEL4UNDvM=4wHQhwEA/YNJV/BQInn0bbpyCG
Thank you very much!
Excellent. Thank you for posting these advanced information regarding the ffmpeg command line is hard to come by, so examples such as these are very useful indeed.
Comments are currently disabled.
