Bread is one of the fundamental meal time accessories or breakfast primaries that never gets old. Bread is also an affordable item to make once you have all of the core accessories and ingredients. Despite it just being plain white bread, it always tastes better than anything you can buy in a store. It also makes a lot at a time; so it is great for families, or can be frozen and used for a long time. I am going to do my best to bestow upon you; the reader, the knowledge of making bread that was shown to me by my mother and grandmother.
Ingredients
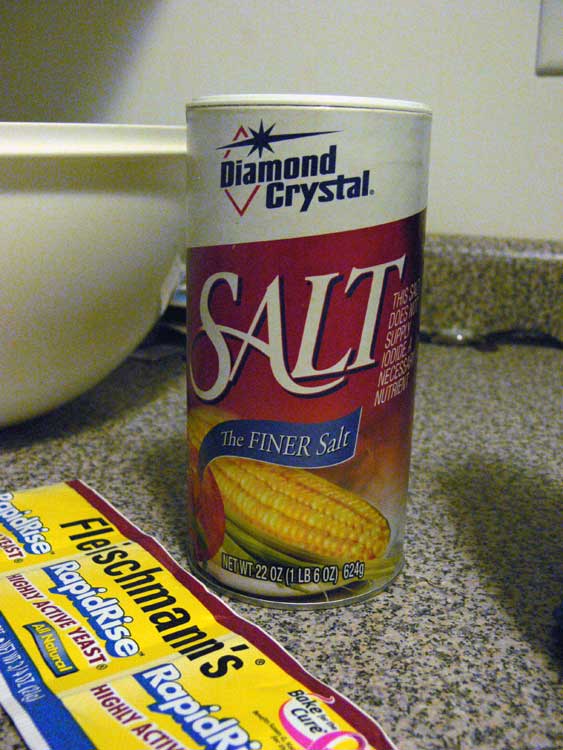
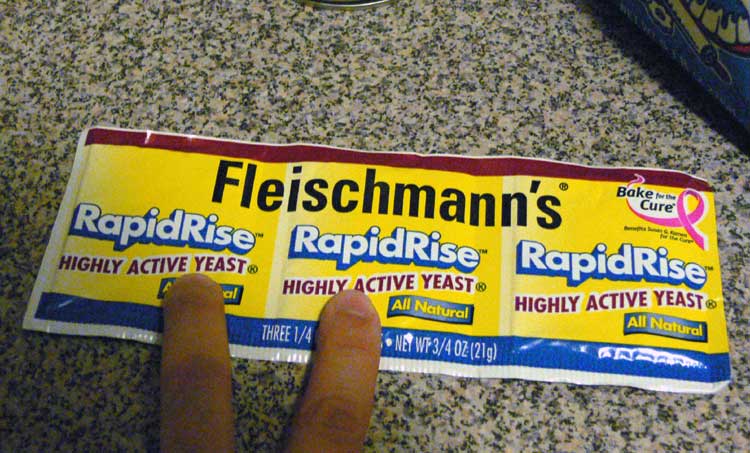
2 packages dry yeast
2 tbsp salt
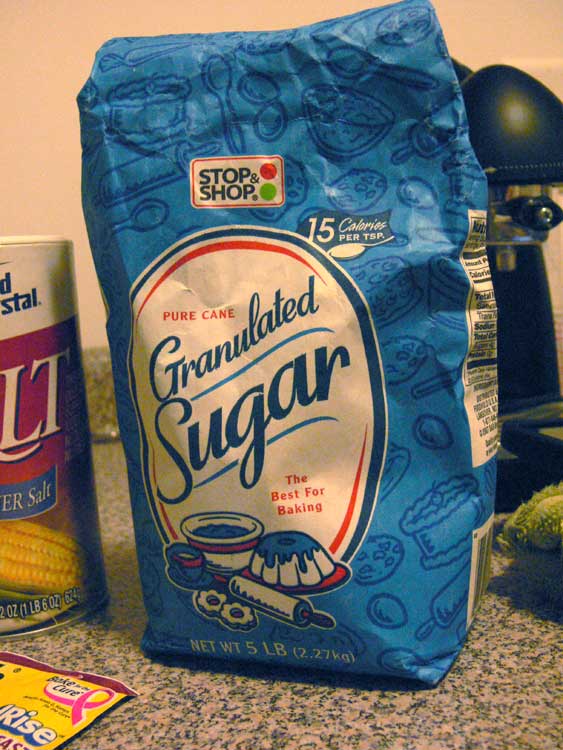
1/2 cup sugar
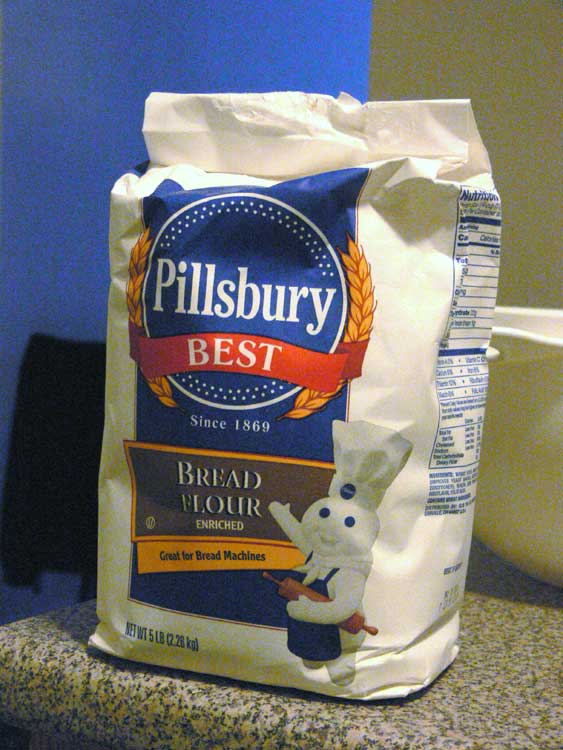
5lb bag of bread flour
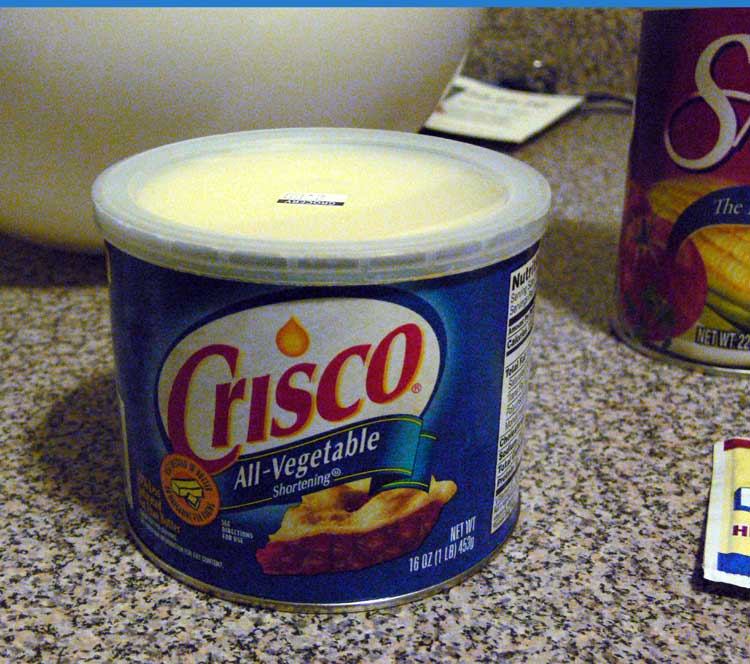
Crisco or pan grease
Cooking Tools
Oven
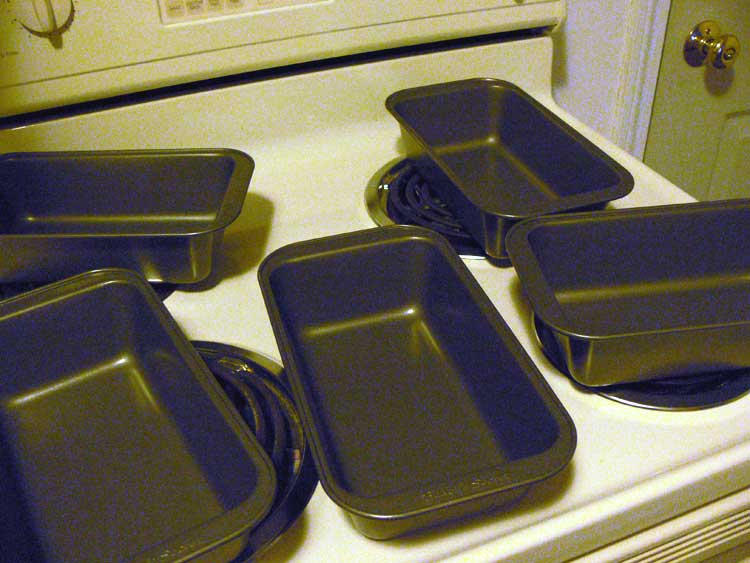
5 metallic bread pans
Measuring cup
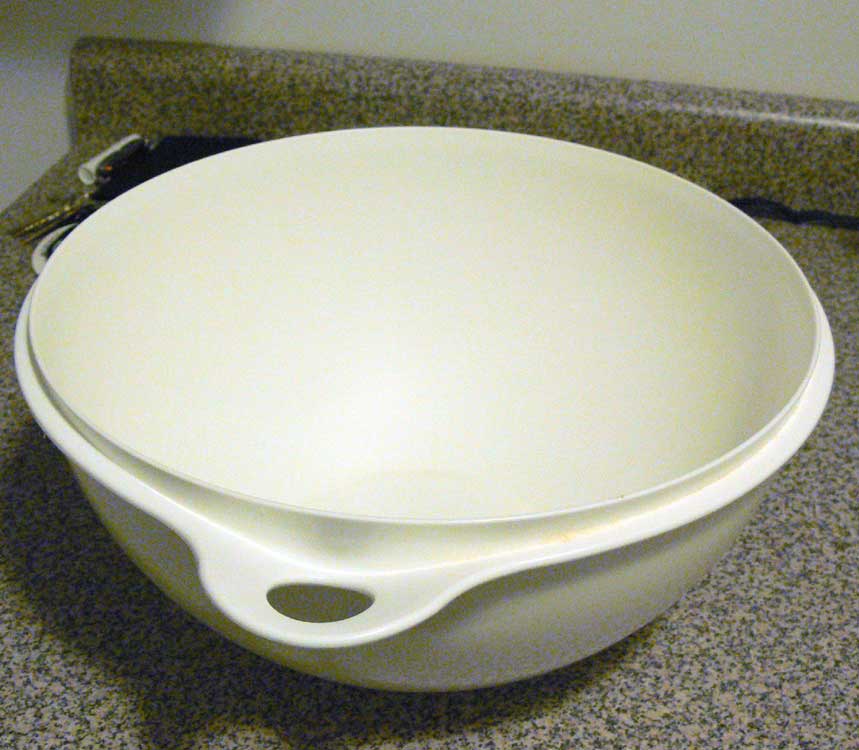
Large mixing bowl or cooking pot
The plain recipe
1. Mix 3/4 cup of warm water, two packages of yeast, and a little sugar together and set aside for five minutes
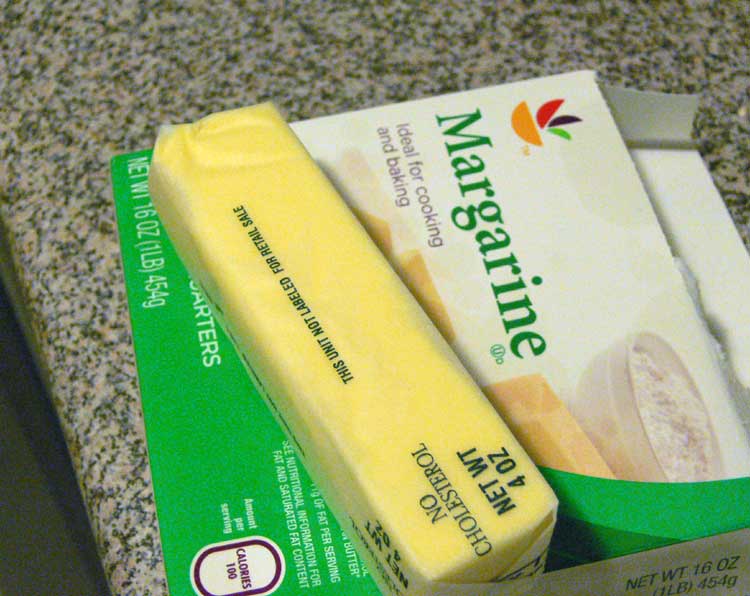
2. Mix one stick of margarine, yeast/sugar/water mix from step 1, most of 5lb bag of bread flour, 2tbsp of salt, and 5 cups of water together. Mix together thoroughly with hands until a consistent paste.
3. Cover the mixture and let it raise for 1.5 to 2 hours.
4. Punch down the mixture and let it raise for an additional half hour.
5. Lubricate baking pans with Crisco or some other substance.
6. Smash down bread again and put it evenly into the pans.
7. Sprinkle left over flour on top of the bread inside the pans so it is easy to smash down very thoroughly.
8. Let the bread rise in the pans to full loaf size.
9. Bake at 400 degrees for 30 to 35 minutes.
The recipe for making bread step by step
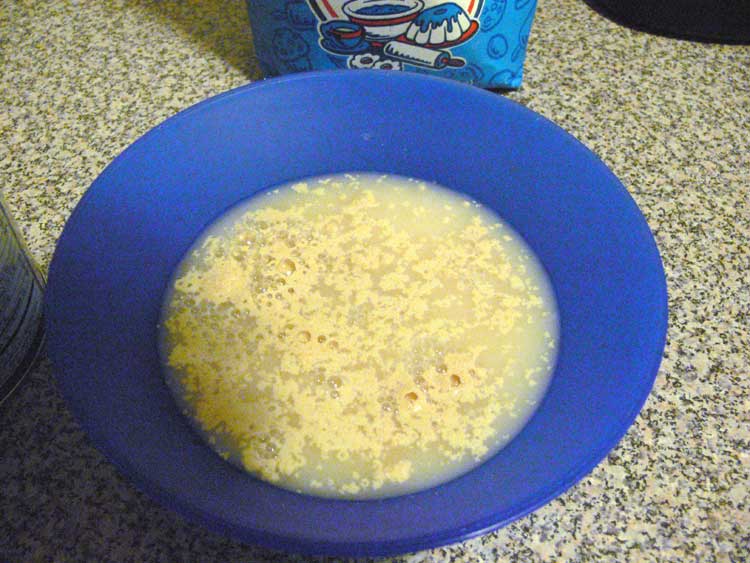
Mix 3/4 cup of warm water, two packages of dry yeast (they come in packs of three normally), and a little sugar together and set aside for five minutes.
This mixture will look like a big bubbly blob by the end of five minutes. The sugar is to get humanities great pals, the yeast, very excited and active.
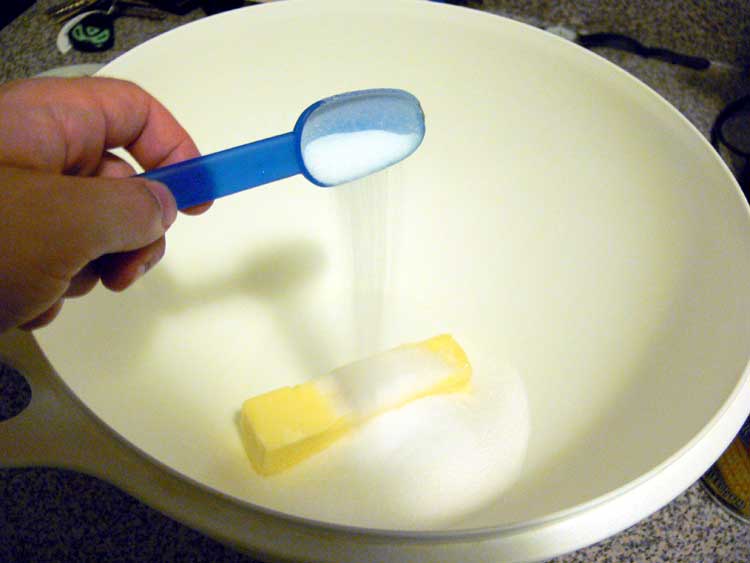
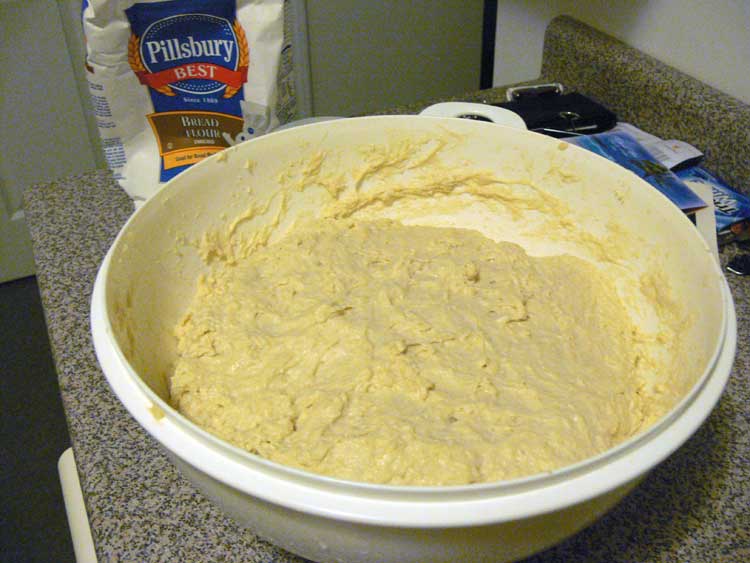
Mix one stick of margarine, the yeast/sugar/water mix from step 1, most of the 5lb bag of bread flour, 2tbsp of salt, and 5 cups of water together. Mix together thoroughly with hands until a consistent paste.
Mixing this stuff together is really a pain. The paste is pretty thick and requires a lot of folding over and over and moving around in order to get it throughly mixed. Compress the mixture as much as you can.
You want to leave a about a half a cup of flour so that you have it as a utility throughout the bread making process. Flour will make the bread paste not stick to everything as you are working with it. This leftover flour is especially important at the end of the process when smashing the bread paste into the cooking pans.
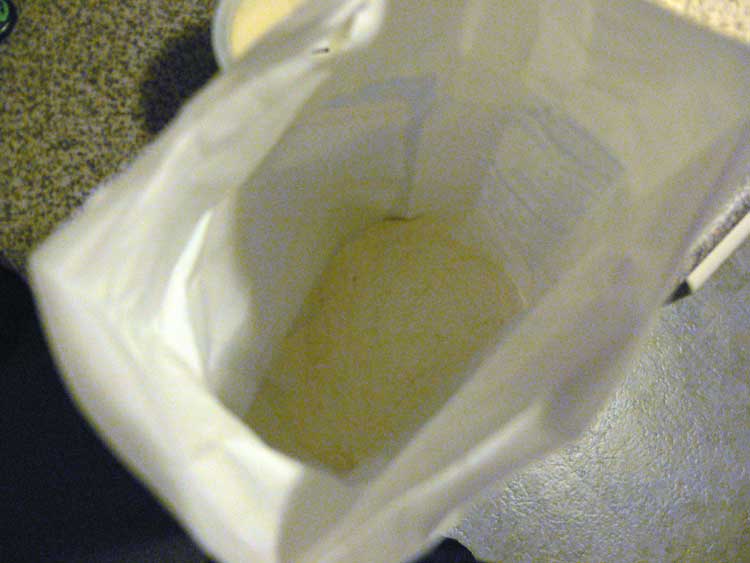
Cover the mixture and let it raise for 1.5 to 2 hours
I'm not sure if covering the mixture helps with it raising, but it will keep dust or any debris off of the mixture if it is in an active kitchen. I normally use a paper towel or one of the dish cloths in my kitchen. There really isn't an exact science to knowing when it has raised enough. The 1.5 to 2 hour time period is normally a good gauge.
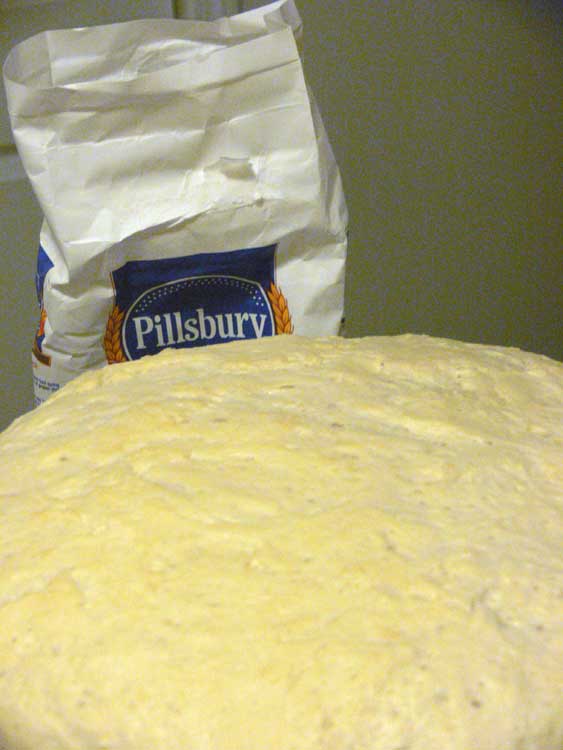
Punch down the mixture and let it raise for an additional half hour.
The mixture has overflowed from my mixing bowl. Punching it down helps a little bit. Make sure to get as much air out as possible. I use a punching and folding technique to crush the bread mixture back down. It will probably raise all the way back up after the additional half hour.
Lubricate baking pans with Crisco or some other substance.
Getting the baking pans well lubricated is critical because the bread will stick to them when you take it out of the oven. I have had great luck with Crisco. I just take my fingers and evenly coat the entire pan with a thin layer making sure it is a slippery mess.
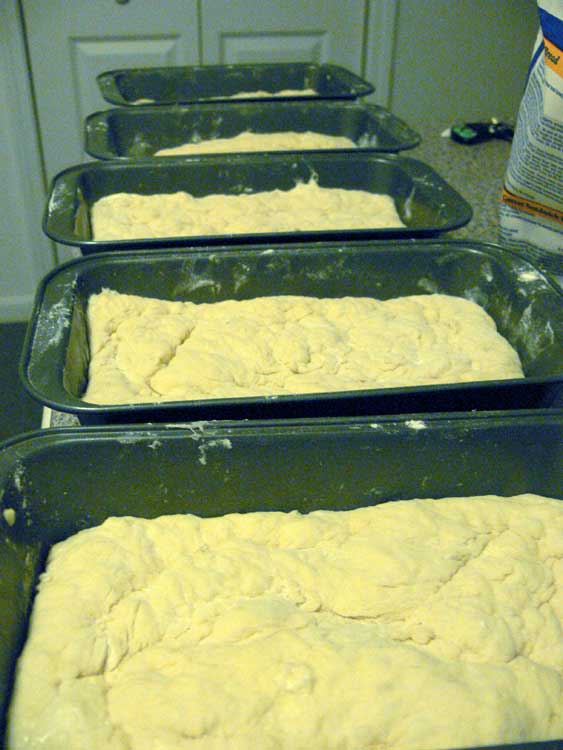
Smash down bread again and put it evenly into the pans.
The bread will probably stick together. I just lift the whole glob out then use my other hand to pinch off the rest of the big glob and dump what I can in the pan. The bread mixture normally sticks to my hands and I always have an annoying time guiding the mixture into the pan.
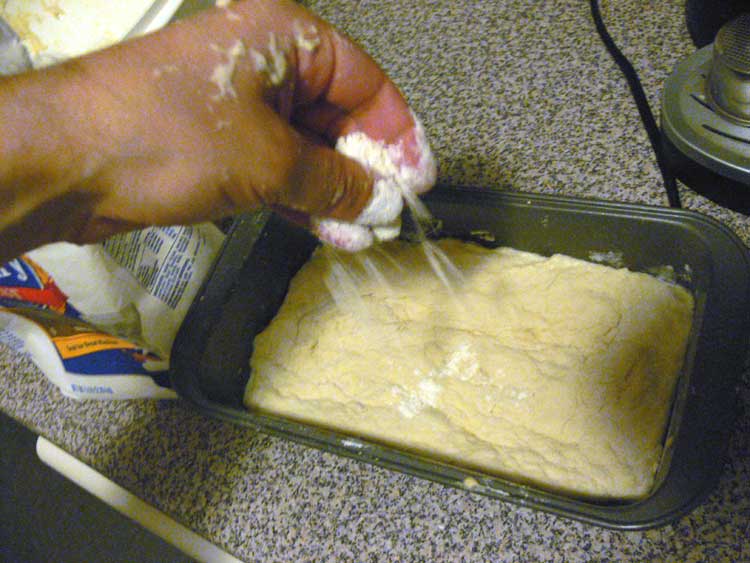
Sprinkle left over flour on top of the bread inside the pans so it is easy to smash down very thoroughly.
Having some leftover flour is critical at this stage of the bread making process. It's likely that your bread is still a gooey paste. After you get the clumps into the bread pans, it really needs to be compacted inside the pans as much as possible. Any air in this stage of the game means you will have air bubbles in your final bread. Sprinkle the leftover flower on top of the bread inside the pans. This will make the top of the bread non-sticky so it can be compacted into the pans as thoroughly as needed. Pack the bread as tightly as you can into the pans.
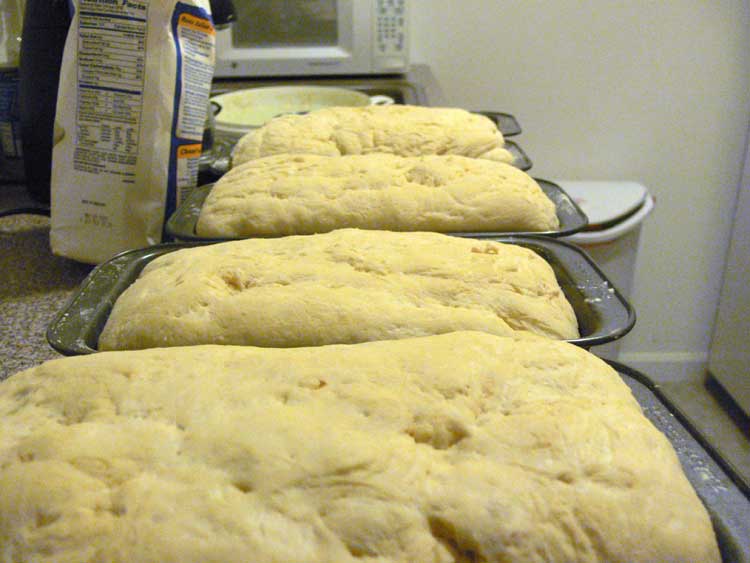
Let the bread rise in the pans to full loaf size.
This is it, the last big bread raise until you will bake it. Get the bread to a height you think looks like loaf size and then put it in the oven. Depending on how well you compacted the bread, this may take another hour or so.
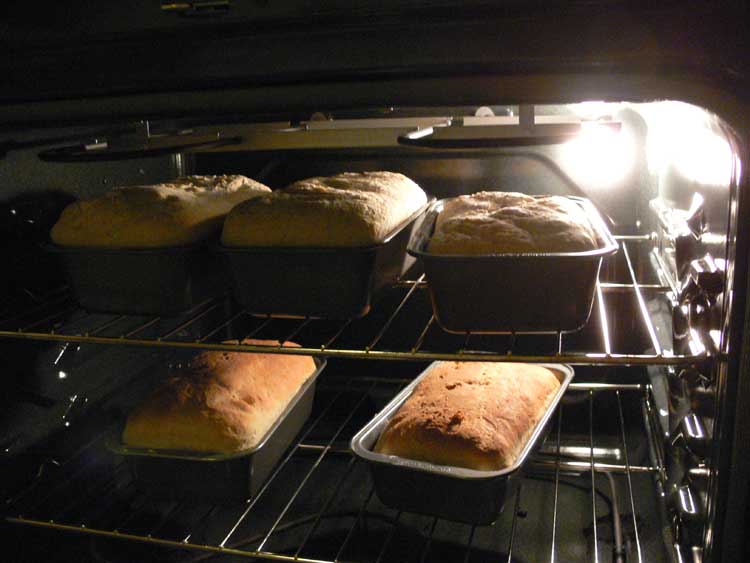
Bake at 400 degrees for 30 to 35 minutes.
Depending on your oven, you may want to switch the breads position half way through the baking process. For example, in my oven, the top rack bread always becomes more cooked on top than the bottom rack bread. I always switch the bread from the top to the bottom half way through the baking process around 15 minutes.
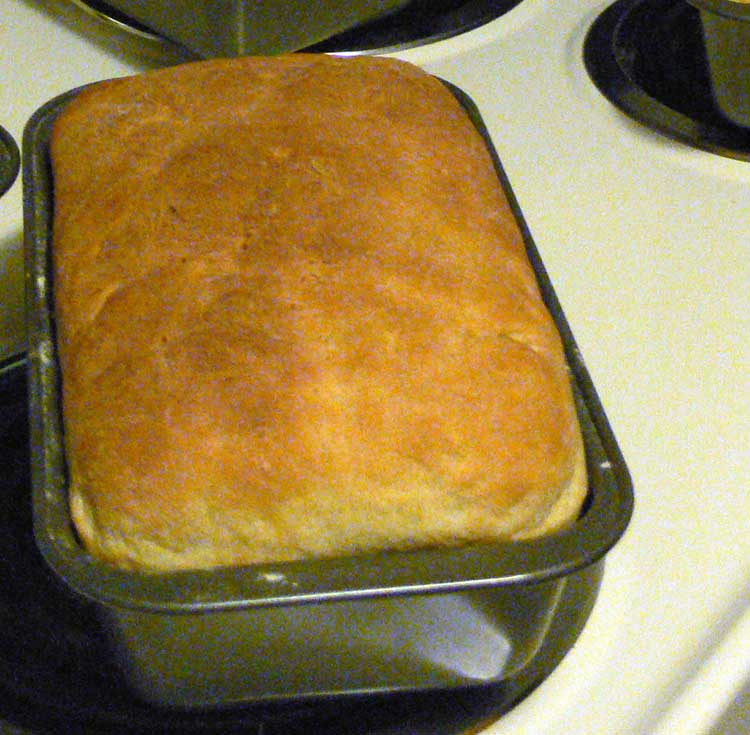
Wait for the pans to cool a little bit before shaking the bread out.
When you remove the bread from the oven it will be very hot. Let it sit for ten minutes or so. This will cause condensation to form inside the pans. When you go to shake your bread out of the pans, it should come out pretty easy if you put enough lubricant in them. I usually leave one loaf out and freeze the rest by wrapping them in plastic cellophane wrap.