Details of the Cave Story Rings
Fri, 4 Feb 2011 22:46:38 EST
If you've been reading what I write on here for over a year, you'll know I really like the indie and free game, Cave Story. I don't just like it because it is a great game, has awesome music, and is extremely polished; but because it's creator, Daisuke Amaya made the game over the course of five years in his free time. Having that kind of dedication resonates to the things I try to create in my spare time. I haven't ever been able to buy a Cave Story poster, t-shirt, or anything else so I decided to make my own rings.
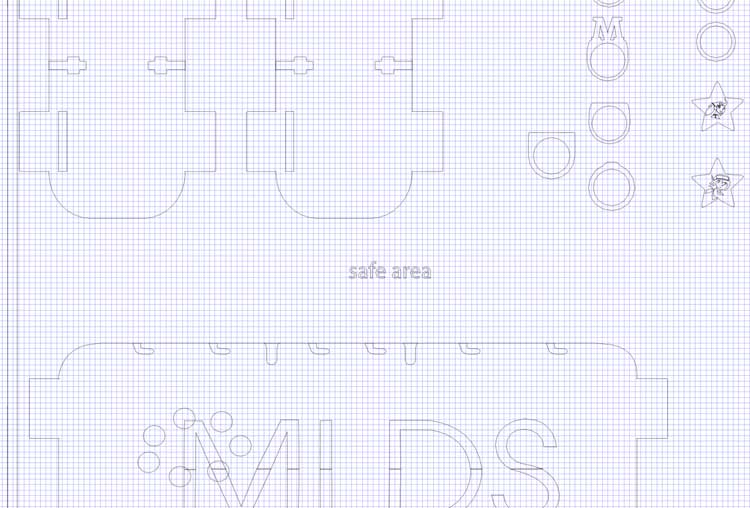
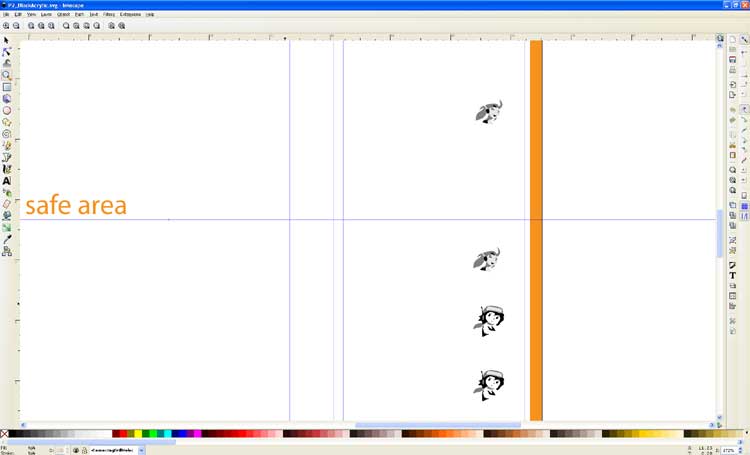
The subject of the last few articles has been the work I did late last year with Ponoko using acrylic. I had some spare room on the plastic sheets used to make the Real Time Web Sign, so I wanted to get into the details a little bit of how I was able to make the rings, because in all reality it really wasn't that hard. The main requirement is being able to use Adobe Illustrator or Inkscape to make a vector illustration that is to scale of the parts you want created. I looked up the diameters of typical ring sizes and used my trusty protractor to measure my own finger and determine I'm about a U.S. size nine. I just made a bunch of circles in inkscape the size of my finger and the people's fingers I wanted to make rings for. I imported a real image from cave story then created a few layers on top of it to trace the characters of curly and quote, then decided what raster laser engraving would be best for which parts of the designs. You can figure out how to do all of this using the Ponoko starter pack for the graphics platform you choose. The designs I made of curly turned out bad, but quote turned out OK.
By researching about how to work with Acrylic I was able to figure out that my favorite chemical for PCB etching that I already had on hand, acetone was a great glue for the material. If you take the time to read the Ponoko starter guides, I'm sure you can do it too if you have something special in mind.

Charles Palen has been involved in the technology sector for several years. His formal education focused on Enterprise Database Administration. He currently works as the principal software architect and manager at Transcending Digital where he can be hired for your next contract project. Charles is a full stack developer who has been on the front lines of small business and enterprise for over 10 years. Charles current expertise covers the areas of human pose estimation models, diffusion models, agentic workflows, .NET, Java, Python, Node.js, Javascript, HTML, and CSS. Charles created Technogumbo in 2008 as a way to share lessons learned while making original products.
Comments
No one has posted any comments yet, be the first
Comments are currently disabled.


