
Ponoko 2D Laser Cutting Using Acrylic
Fri, 7 Jan 2011 22:02:36 EST
In November 2010, when I submitted the jobs to Ponoko, they were primarily accepting SVG file formats generated using Inkscape or Adobe Illustrator. I was familiar with Illustrator, but used Inkkscape because I wanted to learn the software. Ponoko uses an interesting way of submitting designs to their service. They translate vector designs with certain colored lines and fills into cuts and etches of certain depths.
I did a significant amount of research before starting a design that was specific to acrylic. Ponoko has a few great articles that show you specifics about working with Acrylic, but before reading any of these you should first choose your design platform and download the associated starter kit. The starter kit contains a plethora of information to help cover the basics of working with the Ponoko service.
After the starter kit, the next place to look at is the Ponoko martial catalog because it will show you the current thicknesses offered for the material you are thinking about cutting or etching.
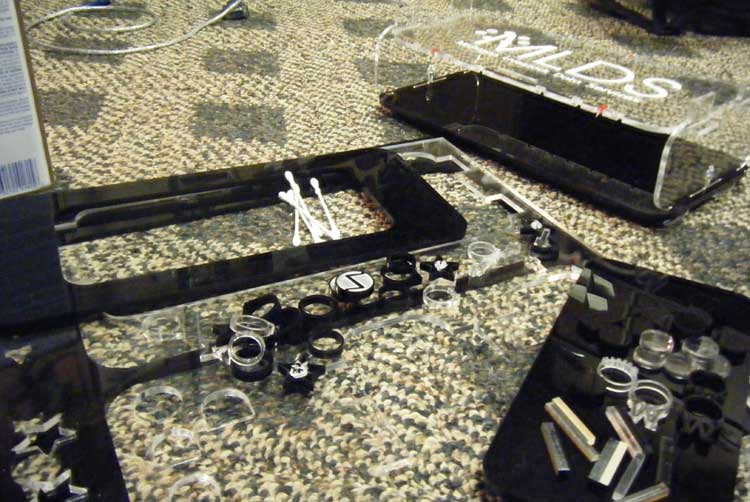
After the materials catalog, I would suggest finding resources specific to the material you have chosen. I used Acrylic, so I'll summarize what I know about that material and provide links to all of the articles I found.
Acrylic Tips
When using P2 or P3 sizes with Ponoko, they suggest moving your designs into corners so they can split up the job into segments. Apparently large pieces of acrylic will typically have bows in the surface over larger areas. If Ponoko can, they will cut up a big sheet in order to make sure the piece sits as flat as possible when laser cutting. If the material isn't flat, it may affect close measured tolerances.
There is a +-15% tolerance in the thickness of acrylic.
Due to the fact that the laser burns away material as it cuts, you need to account for a loss in on all close tolerances for any material.
I would really suggest submitting a piece of work first on a P1, that incorporates many critical measurements as a test before submitting a P2 or P3. My single material P1 only cost roughly $38 with shipping. I was able to check things like PCB mounting hole positioning, machine screw size, and joint tolerances as well as get my hands on a physical piece of the material I would be working with.

Charles Palen has been involved in the technology sector for several years. His formal education focused on Enterprise Database Administration. He currently works as the principal software architect and manager at Transcending Digital where he can be hired for your next contract project. Charles is a full stack developer who has been on the front lines of small business and enterprise for over 10 years. Charles current expertise covers the areas of human pose estimation models, diffusion models, agentic workflows, .NET, Java, Python, Node.js, Javascript, HTML, and CSS. Charles created Technogumbo in 2008 as a way to share lessons learned while making original products.
Comments
No one has posted any comments yet, be the first
Comments are currently disabled.
