
4N25 Optocoupler Information Available
Mon, 02 Mar 2009 6:30:30 EST
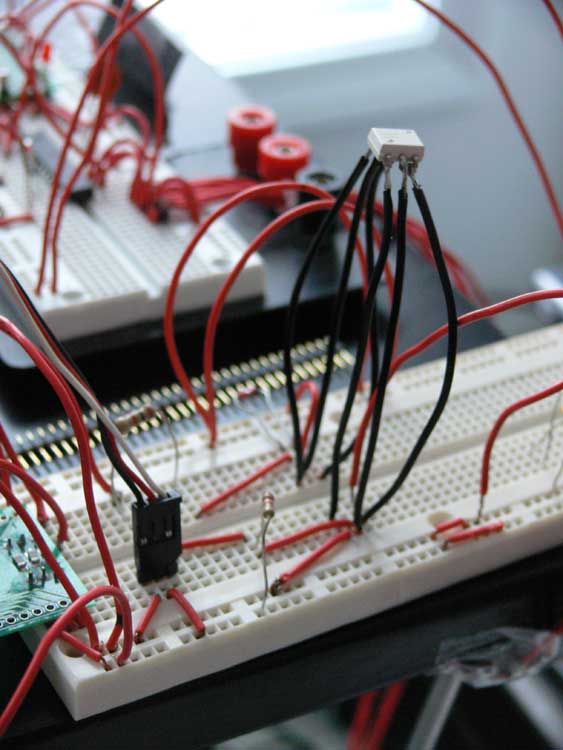
1.Dont waste your time making or purchasing a breakout board for a package size that is large enough to directly solder wires to.
2.Im not sure about other optocouplers, but the 4N25 works on the major principal of sinking current.
3.Pin 6 (the base of the transistor) is used to tweak the sensitivity of the optocoupler.
4.A simple test setup for an optocoupler can be constructed using a single power source, LED, resistors, and a pushbutton switch.
You can find more detail about this in the projects section under Learning to Use an Optocoupler or Optoisolator.

Charles Palen has been involved in the technology sector for several years. His formal education focused on Enterprise Database Administration. He currently works as the principal software architect and manager at Transcending Digital where he can be hired for your next contract project. Charles is a full stack developer who has been on the front lines of small business and enterprise for over 10 years. Charles current expertise covers the areas of human pose estimation models, diffusion models, agentic workflows, .NET, Java, Python, Node.js, Javascript, HTML, and CSS. Charles created Technogumbo in 2008 as a way to share lessons learned while making original products.
Comments
Charles

March 13, 2009 9:48 pm
Thanks for the comment Brock
Brock

March 13, 2009 9:09 pm
The 4N25 gets pretty useless once you get into high frequencies. Just be aware of that.
Comments are currently disabled.
